

A single waterproofing failure in 2026 can cost more in reputation and remediation than the profit of five successful jobs combined. In an era where large format tiles are the industry standard, the margin for error has effectively disappeared. You already know that relying on outdated methods or mismatched components is a recipe for lippage and frustrating callbacks. To stay profitable and maintain your edge, you need a workflow built on integrated systems rather than a random collection of tools. This professional tiling supplies checklist is designed to move your crew toward zero-callback installations and significantly faster project completion times.
We have curated this guide to focus on functional reliability and technical excellence. You will learn exactly how to assemble a kit that prioritizes structural integrity, featuring the PSC Pro Gen II Waterproofing System and specialized ceramic tile leveling systems. We'll walk through the essential categories of 2026 job site readiness, including high-performance abrasives, integrated shower niches, and precision drainage solutions. This breakdown provides a methodical roadmap to ensure every installation meets the highest trade standards for durability and aesthetic precision, allowing you to master every job site with confidence.
Key Takeaways
- Identify the essential measurement and layout tools needed to prevent compounding alignment errors on complex 2026 job sites.
- Learn how to transition from traditional liners to the PSC Pro Gen II Waterproofing System for superior moisture protection and mold prevention.
- Utilize this professional tiling supplies checklist to select the right anti-lippage leveling systems for perfectly flat large format tile installations.
- Discover how professional-grade abrasives and diamond hole saws minimize material breakage and accelerate the cutting phase.
- Master the final steps of commercial projects by integrating high-speed application methods for vinyl and rubber cove base molding.
Phase 1: Precision Layout and Measurement Essentials
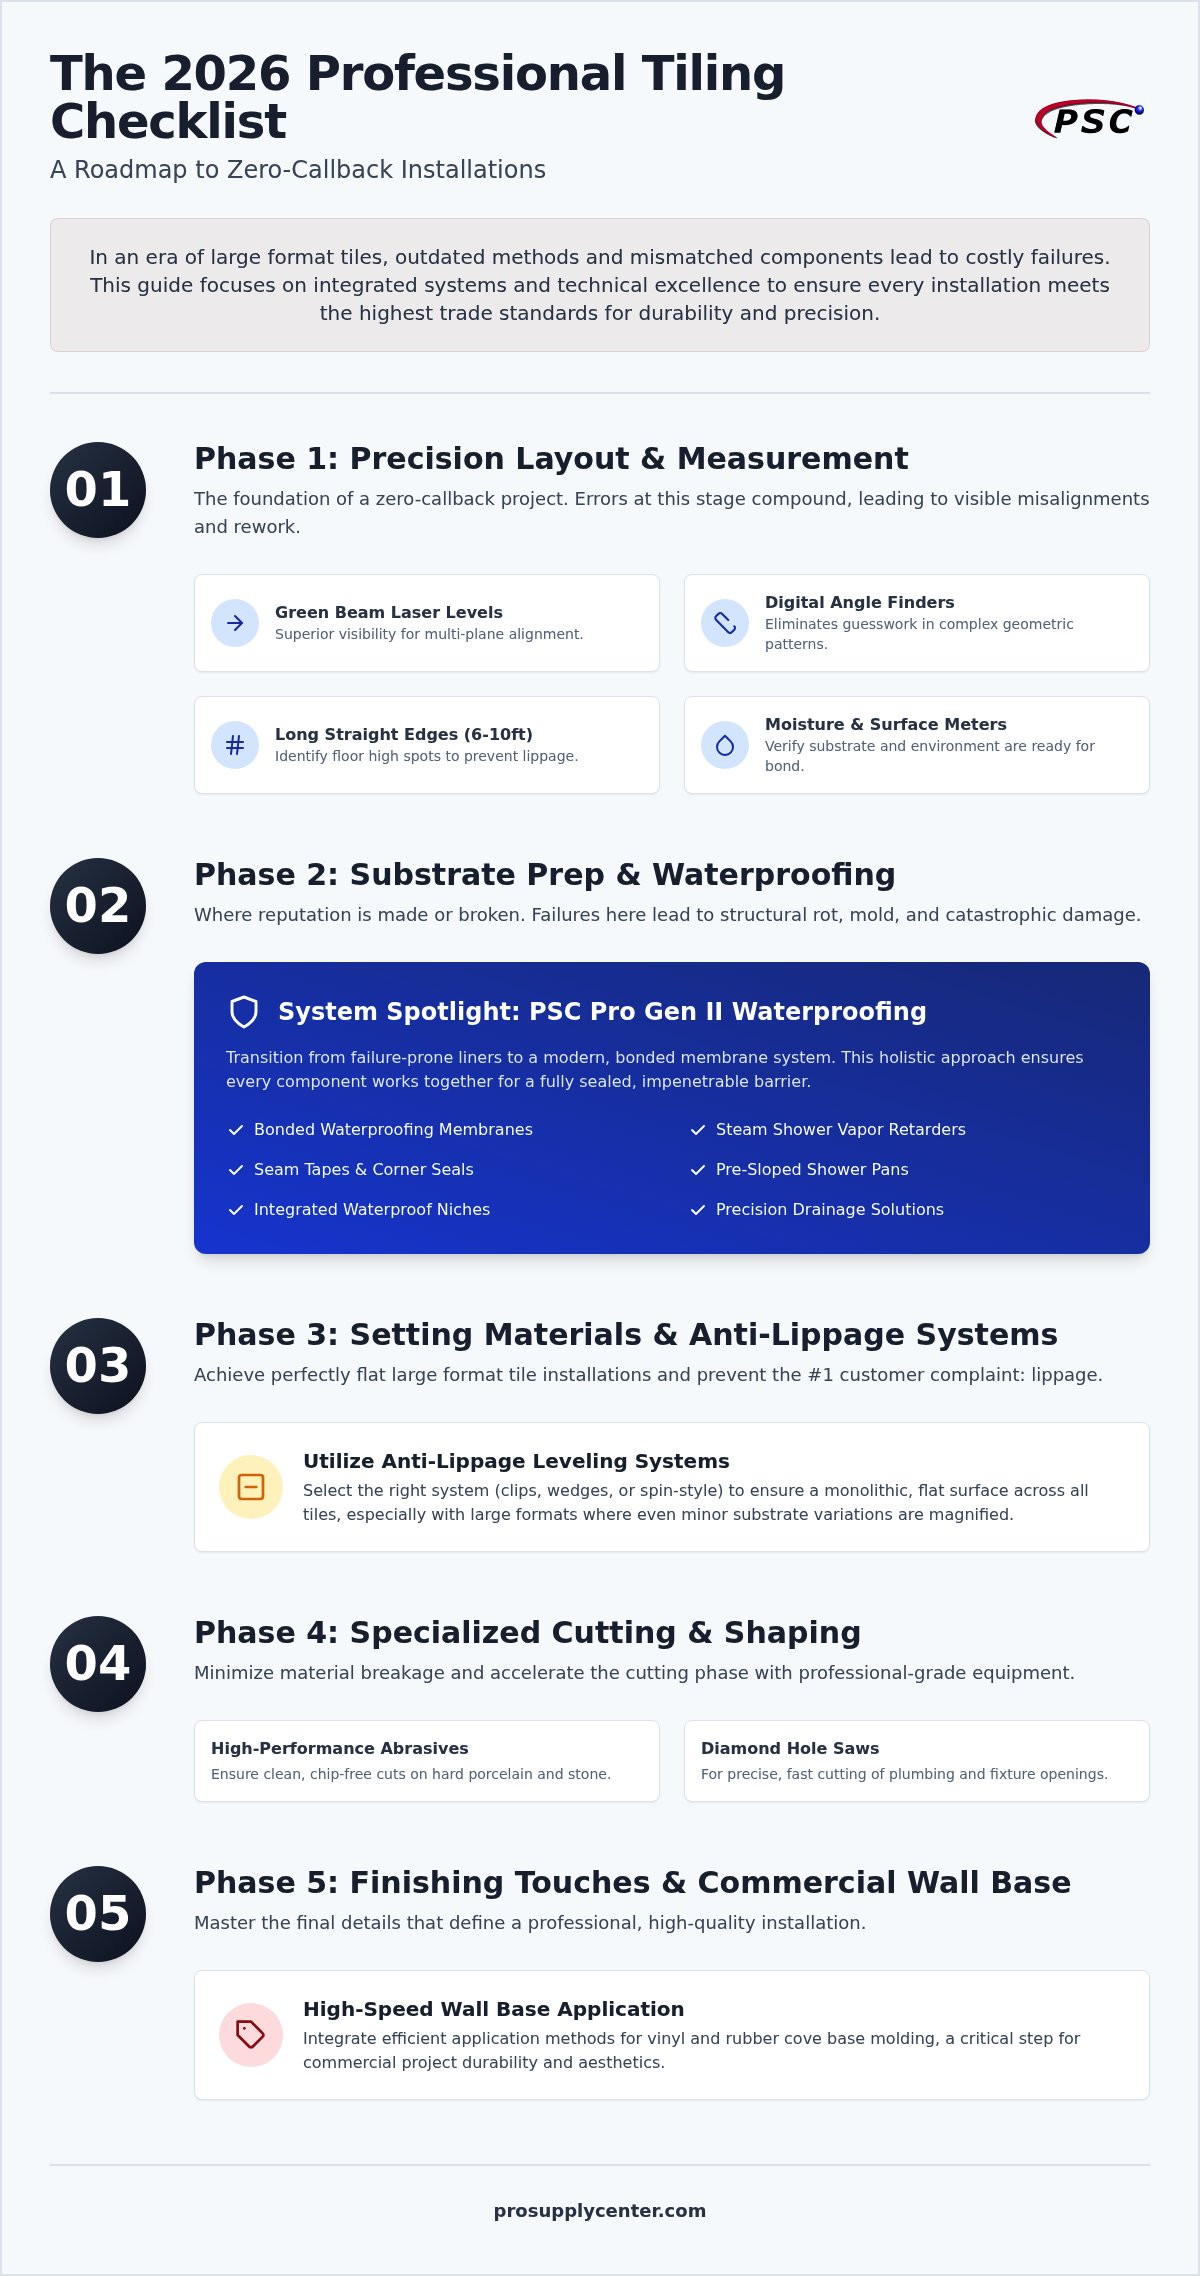
Precision isn't just a goal; it's the foundation of a zero-callback project. Before any mortar is mixed, a comprehensive professional tiling supplies checklist begins with layout. While the history and types of tile show how materials have evolved from basic clay to massive porcelain slabs, the tools used to align them have become equally sophisticated. You can't rely on a bubble level and a prayer when working with modern large-format materials. Errors at this stage compound quickly, leading to visible misalignments that no amount of grout can hide.
High-visibility green beam laser levels are now the standard for 2026 job sites. They offer superior visibility in bright environments compared to traditional red beams, allowing for multi-plane alignment across entire rooms. Pair these with heavy-duty tape measures featuring high-contrast markings. If you're working in low-light conditions or on large commercial sites, these markings prevent the small reading errors that lead to massive layout shifts over long distances. It's a simple upgrade that saves hours of rework.
For non-porous tile surfaces, standard pencils often fail. You need specialized china markers that stay visible during the cut but can be wiped clean afterward. Digital angle finders have also become essential for modern designs. They take the guesswork out of complex geometric patterns and custom cuts, ensuring your transitions are as tight as your field tiles. Chalk lines remain useful for long-run snapping, but ensure you use a non-staining dye that won't bleed through light-colored grout.
Substrate Assessment Tools
Use straight edges ranging from 6ft to 10ft to identify floor high spots before you start. A flat floor is the only way to prevent lippage on large format projects. You also need moisture meters for concrete slabs and backer board verification. If the substrate is too wet, your bond will fail. Additionally, use surface thermometers to confirm the environment is within the thin-set manufacturer's curing range. This level of technical literacy ensures the structural integrity of your build.
The Layout Kit
Modern contractors use layout software or grid templates to plan large format projects. This minimizes waste and ensures the best aesthetic results. Your kit should include a spacer variety pack (1/16" to 3/16") for initial dry-fitting. For those handling heavy porcelain slabs, suction cup handles are mandatory. They allow for safe positioning without straining your back or chipping the tile edges. These layout essentials ensure that once the setting begins, the project moves at a steady pace toward successful completion.
Phase 2: Substrate Preparation and Waterproofing Systems
Waterproofing is where a contractor's reputation is either solidified or destroyed. Unlike layout errors that are immediately visible, waterproofing failures remain hidden until they cause structural rot or mold growth. This is why a modern professional tiling supplies checklist must prioritize integrated systems over a piecemeal collection of materials. Professionals who hold Advanced Certifications for Tile Installers understand that moisture management requires a holistic approach to ensure long-term performance and code compliance.
The PSC Pro Gen II Waterproofing System provides this comprehensive approach by replacing traditional, failure-prone liners with a bonded membrane system. This setup includes waterproofing membranes for shower walls that create an immediate, impenetrable barrier against water penetration. For steam shower environments, you must include vapor retarders specifically designed to handle extreme humidity and heat. Seam tapes and corner seals are also essential to eliminate weak points at the transitions where leaks most frequently occur. Using a system-based approach ensures that every component works together to protect the building envelope.
Integrated Shower Components
Efficiency on the job site often comes down to using pre-manufactured components that eliminate manual errors. Pre-sloped shower pans ensure perfect drainage every time, removing the risk associated with hand-troweled mud beds. You should also integrate integrated shower niches into your build. These niches provide seamless, waterproof storage while reducing the time spent framing and waterproofing custom boxes. For modern walk-in designs, curb-less entry transition strips allow for a sleek look without compromising the enclosure's integrity.
Drainage and Hardware
Your choice of hardware dictates the final slope and aesthetic of the floor. Linear shower drains for tile allow you to create modern, single-slope floors that work perfectly with large format tiles. If a center drain is required, square shower floor drains with integrated hair strainers offer a professional finish and easy maintenance for the homeowner. Selecting a complete PSC Waterproofing Shower Kit ensures all these components are compatible and ready for installation. The PSC Pro Gen II Waterproofing System is the industry standard for 2026 moisture management.
Phase 3: Setting Materials and Anti-Lippage Systems
Once your substrate is prepped and waterproofed, the focus of your professional tiling supplies checklist shifts to the bond and the finish. High-performance thin-set mortars are the backbone of any 2026 installation. You need mortars with extended open times to accommodate the precise adjustments required for large-format layouts. Mixing these materials requires a high-torque drill and a dedicated mixing paddle to achieve a lump-free, creamy consistency. Using the wrong paddle or a low-power drill often leads to air pockets or unmixed polymers, which eventually compromises the bond strength and leads to hollow spots.
Your choice of notched trowel is equally critical for achieving proper coverage. U-notch trowels are generally preferred for larger tiles because they allow for better ridge collapse, while square-notch trowels are suitable for standard formats. Ensuring at least 95% mortar coverage in wet areas is a non-negotiable standard for professional work. Without the right trowel size, you risk air being trapped behind the tile, which can lead to cracks or moisture accumulation over time.
Anti-Lippage Technology
Standard spacers only manage joint width; they don't address the vertical height differences between tiles. To eliminate these offsets, you must upgrade to a floor tile leveling kit. These systems use a combination of clips and wedges to pull adjacent tiles into a single, perfectly flat plane. Proper large format tile leveling requires placing clips at specific intervals, typically within two inches of every corner. Using wedge pliers ensures you apply consistent pressure across the entire floor, preventing the uneven tension that causes tiles to "kick" or shift during the mortar's drying process.
Setting Tools
A non-marring white rubber mallet is essential for seating tiles firmly into the mortar bed without leaving scuffs or causing micro-fractures in the glaze. For the grouting phase, choose floats with ergonomic handles to reduce wrist fatigue on high-volume commercial jobs. Reusable tile leveling systems are the preferred choice for eco-conscious contractors in 2026 because they significantly reduce the volume of single-use plastic waste generated on the job site. These tools don't just improve the look of the floor; they ensure the installation is structurally sound and built to last.
Phase 4: Specialized Cutting and Shaping Equipment
Cutting is the stage where your planning meets the physical reality of the material. A jagged edge or a chipped corner is the signature of amateur work, and in 2026, clients expect factory-quality finishes on every visible transition. Your professional tiling supplies checklist must include tools that handle the increased density of modern porcelain and natural stone. While a wet saw with a sliding table is essential for precision stone work and large porcelain slabs, manual snap cutters remain the preferred choice for fast, dust-free straight cuts in ceramic. They allow you to work directly in the installation area without the mess of water runoff or the noise of a motor.
Precision penetrations for plumbing and electrical fixtures require high-performance diamond hole saws. These tools allow you to create clean openings without risking the hairline fractures that often occur when using traditional nippers on dense materials. For the most demanding projects, professional grade abrasives are mandatory for smoothing cut edges and removing the micro-burs that can catch grout or cause skin irritation during cleaning. Success in this phase is about matching the speed of the cut with the delicacy of the finish.
Diamond Blade Selection
The efficiency of your wet saw depends entirely on the blade. Continuous rim blades are the industry standard for chip-free porcelain cuts, providing a smooth finish on visible edges. Segmented blades are better suited for high-speed natural stone processing where cooling is less of a priority than material removal. For dry cutting with a grinder, turbo mesh blades offer the best balance of cooling and speed, preventing the overheating that leads to blade warping or tile scorching.
Refining the Edge
Creating a professional finish often happens after the primary cut is made. Hand sanding pads, ranging from 60 to 400 grit, allow you to soften sharp edges and match the factory bevel on field tiles. If you're working on high-end custom projects, polishing wheels are necessary for creating custom bullnose profiles on-site. For intricate shapes around electrical boxes where a saw cannot reach, high-quality tile nippers provide the control needed for small, incremental removals. To achieve these museum-quality edges on every project, stock up on professional grade abrasives and precision cutting tools before your next installation.
Phase 5: Finishing Touches and Commercial Wall Base
The final phase of any project determines the client's lasting impression. While previous steps focused on structural integrity and flat surfaces, the finishing touches in your professional tiling supplies checklist ensure the installation is both functional and aesthetically complete. For commercial environments, this often involves the installation of vinyl or rubber cove base molding. These materials provide a durable transition between the floor and the wall, protecting the substrate from impact and moisture during routine maintenance. High-speed trim installs require specialized cove base adhesive and application guns, which allow for a consistent bead and faster bond times compared to traditional manual spreading.
In residential or hospitality shower stalls, recessed ceramic soap dishes remain a staple for traditional utility. These components must be integrated carefully into the waterproofing system to prevent moisture ingress behind the tile. For the cleaning phase, don't rely on a single bucket. Dual-bucket cleaning systems are the only way to achieve haze-free finishes, as they separate the dirty rinse water from the clean water used for the final pass. High-density grout sponges are also essential to avoid pulling too much material out of the joints during the initial wash.
Commercial Wall Finishing
Choosing between vinyl and rubber cove base depends on the specific demands of the site. Rubber is superior for high-traffic areas because it's more flexible and won't scuff as easily as vinyl, though vinyl remains a pragmatic choice for budget-conscious projects. To eliminate difficult miter cuts and ensure a professional look, use pre-molded outside corners. These save significant time on large-scale jobs and provide a more consistent finish. Transition strips are equally important for tile-to-carpet or tile-to-vinyl interfaces, ensuring a safe, trip-free passage between different flooring materials.
Final Cleanup and Protection
The job isn't finished until the tile is pristine and protected from following trades. Use grout haze removers and neutral pH tile cleaners to remove residue without damaging the grout or the tile surface. Once the floor is clean, apply temporary floor protection like Ram Board to prevent damage from ladders, tools, or spills from other contractors. A 4-inch cove base roll provides a sanitary, moisture-resistant seal that withstands the heavy cleaning protocols required in commercial restroom applications. These final steps protect your work and ensure the project is ready for immediate use upon handover.
Future-Proofing Your 2026 Installation Workflow
Building for the long term requires more than just skilled hands; it demands a technical workflow that eliminates variables. By adopting this professional tiling supplies checklist, you've established a roadmap for installations that prioritize structural integrity and aesthetic precision. You've learned how to integrate advanced layout tools with high-performance cutting equipment and why system-based moisture management is the only way to guarantee a leak-proof environment in 2026. These choices directly impact your project speed and your reputation in a competitive trade.
The right materials act as a force multiplier for your crew. When you combine the contractor-grade PSC Pro Gen II Waterproofing System with precision anti-lippage leveling kits, you aren't just finishing a job; you're delivering a superior product that stands up to scrutiny. We make it easy to maintain this standard with national shipping on all tiling accessories and specialized equipment. Quality isn't an accident; it's the result of using the right components for the right application.
Ready to upgrade your job site readiness? Shop the PSC Pro Gen II Waterproofing System and Professional Tiling Supplies to ensure your next project is completed faster and with zero callbacks. Your commitment to excellence starts with the tools you choose today.
Frequently Asked Questions
What is the best professional tile installation tool for large format tiles?
Suction cup handles are the most critical tools for handling large format tiles safely and accurately. They allow you to position heavy porcelain slabs without risking back strain or chipped edges. Additionally, a high-quality ceramic tile leveling system is essential to eliminate lippage on these oversized materials. These tools ensure the tiles remain perfectly flat across the entire substrate during the mortar's curing process, which is a key part of any professional tiling supplies checklist.
Can I use the PSC Pro Gen II Waterproofing System for steam showers?
Yes, the PSC Pro Gen II Waterproofing System is suitable for steam showers when combined with appropriate vapor retarders. Steam environments require a much lower perm rating than standard showers to prevent moisture from migrating through the walls into the framing. Using the integrated membrane system ensures a continuous barrier. This approach protects the structural integrity of the build by managing the extreme humidity and heat common in modern steam room designs.
How much does a professional tile leveling system speed up installation?
A professional leveling system can increase installation speed by roughly 25% on large projects. By using clips and wedges, you spend less time manually checking for lippage and adjusting individual tiles with a mallet. The system mechanically forces the tiles into a single plane, allowing you to move through the layout more quickly. This efficiency reduces labor costs and ensures a more consistent, high-quality finish across large floor areas.
Is a manual tile cutter better than a wet saw for porcelain?
Neither is universally better; they serve different purposes in a professional tiling supplies checklist. Manual snap cutters are faster and cleaner for straight cuts, making them ideal for high-volume ceramic or porcelain work. However, a wet saw is necessary for L-cuts, U-cuts, or dense natural stone where a score-and-snap method might cause material breakage. Most contractors keep both on-site to balance speed with the precision needed for complex plumbing penetrations.
What happens if I skip the waterproofing membrane in a shower?
Skipping the waterproofing membrane leads to inevitable moisture penetration into the wall cavity and subfloor. Over time, this causes structural rot, mold growth, and the eventual failure of the tile bond. These issues often remain hidden until the damage is extensive, resulting in costly remediation and total shower replacement. Using a bonded system like the PSC Pro Gen II Waterproofing System prevents these failures by stopping water at the surface before it reaches the substrate.
Why is rubber cove base preferred over vinyl in commercial settings?
Rubber cove base is the preferred choice for commercial settings due to its superior durability and flexibility. Unlike vinyl, rubber doesn't scuff easily and maintains its color even after heavy impact from cleaning equipment or floor buffers. It also conforms better to slight wall irregularities, ensuring a tighter seal. While the initial cost is higher, the long-term performance in high-traffic environments makes it a more pragmatic investment for commercial restroom and hallway applications.
What grit of professional grade abrasives should I use for tile edges?
You should use a range of grits depending on the desired finish. Start with a 60-grit pad for heavy material removal or to smooth out aggressive saw marks. Move to 120 or 200 grit for standard edge softening that matches a factory bevel. For visible, polished edges on natural stone or high-end porcelain, finish with 400 grit or higher. Having a variety of professional grade abrasives ensures you can handle different tile densities and aesthetic requirements.
Do I need a special drain for the PSC Pro Gen II system?
The PSC Pro Gen II system works best when paired with compatible integrated shower drains. These drains are designed specifically to bond with the waterproofing membrane, creating a seamless and leak-proof transition at the most vulnerable point of the shower floor. Using a dedicated PSC drain ensures that the flange height and material are perfectly matched to the system's specifications. This compatibility eliminates the need for field modifications and reduces the risk of drainage failures.


